How to Screenshot in Microsoft Dell: A Complete Guide
If you own a Dell computer running Windows 10, you already have several reliable ways to capture what’s on your screen. Whether you need to take a quick snapshot for work, share a game moment with friends, or document an error message, learning how to take screenshots efficiently can save you time and frustration. This article walks you through the built‑in options, shortcuts, and a few handy third‑party tools, so you can choose the method that best fits your workflow.
Why Screenshots Are Essential
We could spend all day arguing the merits of a good screenshot, but the truth is simple: a clear image of your screen communicates information faster than a written description. From troubleshooting technical issues to creating tutorials, screenshots help you capture visual details that words alone can’t convey. Knowing how to capture them quickly is a skill every Dell user should master.
Built‑In Screenshot Methods in Windows 10
Windows 10 includes three primary tools that let you learn how to capture your screen without installing additional software:
- Print Screen (PrtScn) key – Sends the entire screen to the clipboard.
- Windows + Shift + S – Opens the Snip & Sketch overlay for custom selections.
- Windows + PrtScn – Saves a full‑screen shot directly to the Pictures → Screenshots folder.
Using Keyboard Shortcuts
Keyboard shortcuts are the fastest way to take a screenshot. Here’s how each one works:
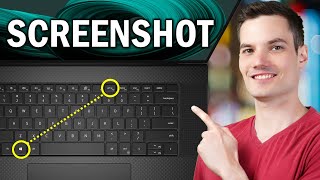
- Full‑screen capture: Press PrtScn. The image is copied to the clipboard; paste it into Paint, Word, or an email with Ctrl + V.
- Automatic save: Press Windows + PrtScn. Your screen will dim briefly, and the file will be saved as a PNG in Pictures → Screenshots.
- Custom region capture: Press Windows + Shift + S. The screen dims and a small toolbar appears at the top. Choose rectangle, freeform, window, or full‑screen mode, then drag to select the area you want. The screenshot is copied to the clipboard, ready to be pasted.
These shortcuts work on any Dell laptop or desktop, regardless of the model, as long as you’re running Windows 10 or later.
Snipping Tool and Snip & Sketch
Microsoft’s Snipping Tool (available in older Windows 10 builds) and its successor