How To Transfer A Printed Photo To A Piece Of Raw Pine Wood
Wood prints have become a popular way to showcase personal photos with a rustic charm. Whether you plan to hang the piece on a wall or frame it for a gallery‑style look, transferring a printed image onto raw pine wood is both affordable and rewarding. Below you’ll find a step‑by‑step guide that covers the essential supplies, safety tips, and three proven methods to achieve a professional result.
What You Need Before You Start
Gather these basic items so the process runs smoothly:
- Raw pine board (1/4‑inch to 1/2‑inch thick)
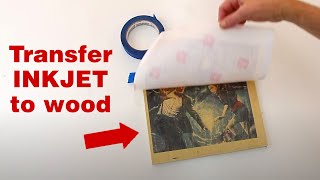
- Printed photo (laser‑printed on regular paper; ink‑jet prints may bleed)
- Label release or acrylic medium (for the transfer medium)
- Soft cloth or foam roller
- Sandpaper (120‑ and 220‑grit)
- Protective gloves and a well‑ventilated workspace
Before you begin, sand the pine surface with 120‑grit sandpaper, then finish with 220‑grit for a smooth finish. Wipe away dust with a dry cloth. A clean surface ensures the image adheres evenly and reduces the risk of bubbles.
The Easiest Way To Transfer Using Label Release
Using label release is a favorite among crafters because it creates a flexible, clear adhesive that works well on raw wood. Follow these steps:
- Print your photo in reverse. Flip the image horizontally so it appears correctly once transferred.
- Apply label release. Using a brush, spread a thin, even coat over the area where the photo will sit. Allow it to become tacky (about 5 minutes).
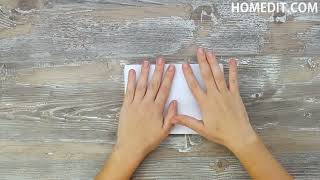
- Place the photo. Position the printed side down onto the tacky label release. Press gently to remove air pockets.
- Secure and dry. Place a clean piece of cardboard on top, then weight it with books. Let it dry overnight.
- Remove the paper. Soak the wood in warm water for 10‑15 minutes. Gently rub the paper away with your fingers or a soft cloth, revealing the transferred image.
- Seal the wood. Apply a thin coat of clear acrylic sealer or a wood finish to protect the image from moisture.
This method